Physical Address
3260 College Rd, Fairbanks, Alaska

By Derek V. Mackown | IT Technician & Display Hardware Specialist
The first thing most people do when the resolution setting is grayed out is right click the desktop and open Display Settings again. As if opening it a second time might produce a different result.
The second thing they do is restart the computer.
The third thing and this is where I usually get the call is spend forty minutes in Settings, Windows Update, and Nvidia Control Panel clicking things that have no relationship to the actual problem, because nothing they try changes the grayed-out status of that dropdown.
I’m not saying this to be unkind. I’m saying it because the reason none of those things, work is the same reason in every case: the resolution control isn’t frozen because of something you did or didn’t do in settings. It’s frozen because Windows has received an instruction from somewhere a driver, a policy, a protocol, a fallback mode, that explicitly overrides user control of that setting. You cannot click your way around an instruction. You have to find the instruction and change it.
This guide is structured around finding that instruction. Not around fixing symptoms, around understanding what Windows is actually doing in your specific situation and correcting it at the source.
Table of Contents
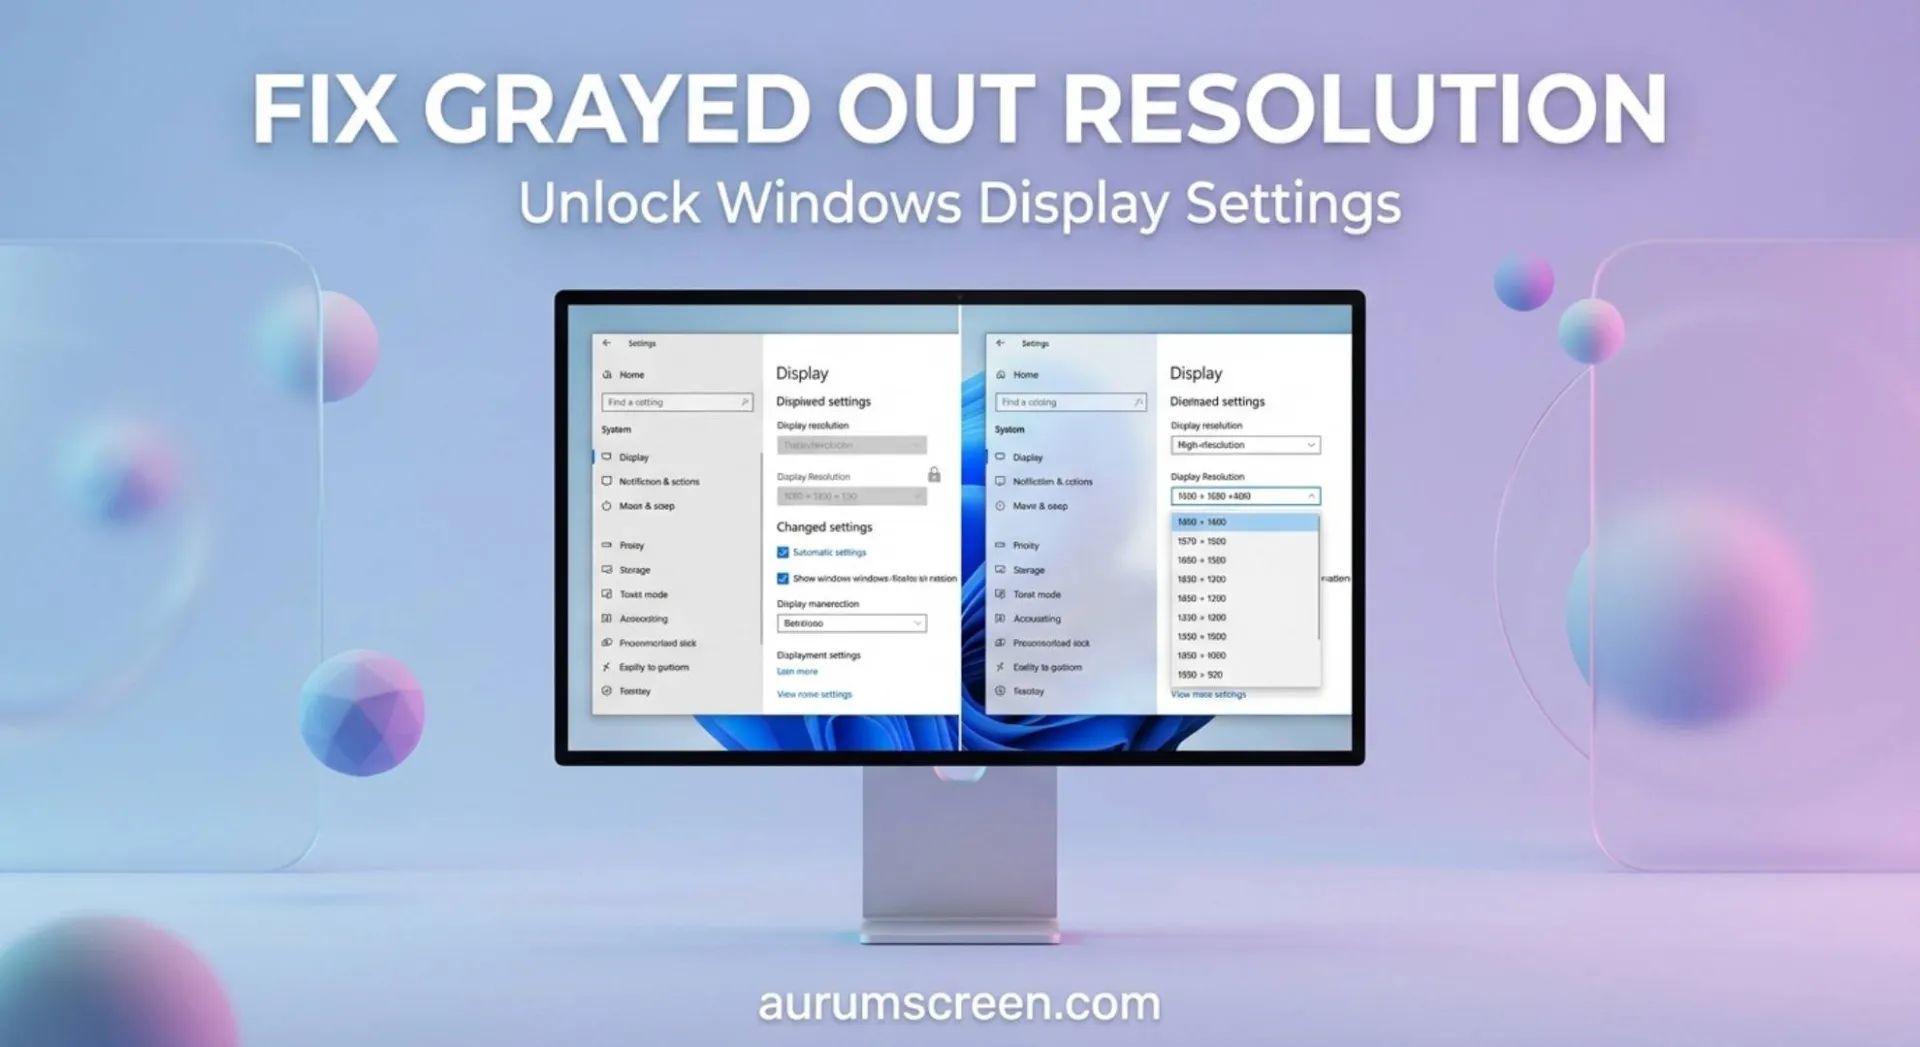
ToggleBefore any fix, take a careful look at exactly what you’re seeing. The visual state of the resolution control in Display Settings carries specific diagnostic information that most people read past without registering.
Open Settings → System → Display. Look at the resolution section, not to change it, just to observe it precisely.
Is the dropdown present but frozen – visible, showing a value, but impossible to click?
Windows is receiving an active lock signal from an external authority. The dropdown renders because the UI component loaded correctly. It freezes because a Group Policy object, a Remote Desktop session protocol, or an MDM (Mobile Device Management) enrollment is actively instructing the display configuration layer to reject user input. The driver is fine. The hardware is fine. An instruction above the user interface level is holding the control closed.
Is the dropdown present and clickable, but it shows only one or two resolution options – nothing close to your monitor’s native spec?
The GPU driver is installed but the display capability information it’s working from is incomplete. Windows populates the resolution list from EDID data, a specification packet that your monitor broadcasts over the cable connection every time it’s detected. If that EDID data is missing, corrupted, or never arrived, the driver falls back to offering only universally safe resolutions: 800×600, 1024×768, 1280×720. The control works; the data it’s drawing from doesn’t.
Is the resolution section missing from Display Settings entirely – not grayed out, just absent?
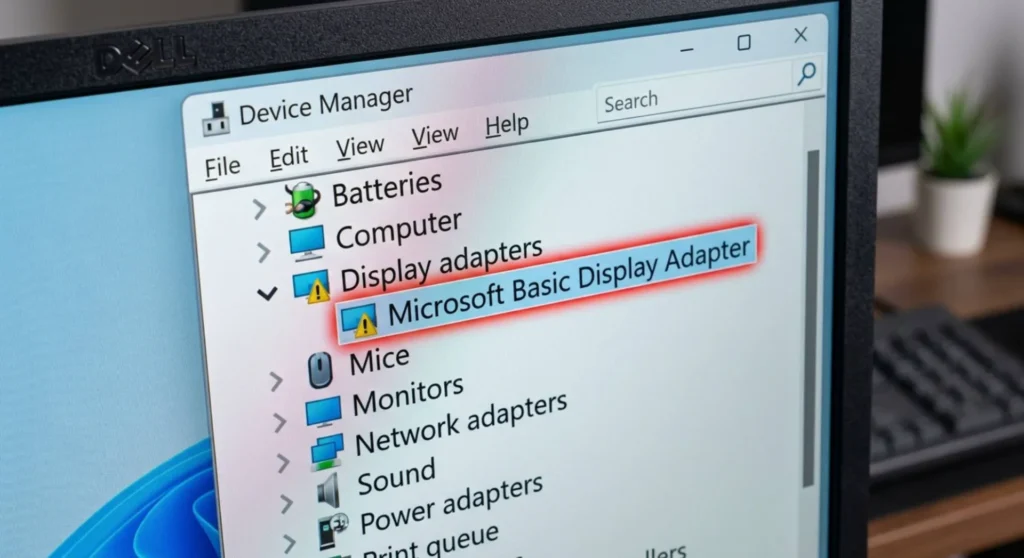
Windows is running on its fallback display renderer: the Microsoft Basic Display Adapter. This is a minimal rasterization engine that Windows activates when no real GPU driver is present. It can render a desktop. It cannot expose resolution controls, because resolution management requires a functioning driver stack and Basic Display Adapter deliberately omits that stack to avoid conflicts during driver-absent states. This isn’t a locked setting. It’s a missing capability.
Is the dropdown working, but the resolution you set reverts to a different value after you restart or after a few minutes?
The change is being accepted temporarily and then overwritten. Something a Group Policy refresh cycle, a scheduled task, a display configuration utility from your laptop manufacturer or a startup script is running after your change and restoring a previous value. You’re winning the setting and losing the persistence.
Keep your specific observation in mind. Every section below addresses one of these four states directly. If your situation matches the first observation, start at the Group Policy section. Second observation, go to EDID. Third, go straight to the driver section. Fourth, the persistence section at the end.
This is the fastest state to resolve, so it comes first.
The Microsoft Basic Display Adapter is what Windows loads when it cannot find a valid GPU driver. It appears in Device Manager under Display Adapters with that exact name, “Microsoft Basic Display Adapter” and its presence explains everything about a missing resolution section immediately. There are no permission issues, no policy locks, no EDID problems. There is simply no driver, and without a driver, there is no resolution control.
How to confirm this in 15 seconds:
Press Windows + X → Device Manager → expand Display adapters. If you see “Microsoft Basic Display Adapter” instead of your GPU model name, this is your situation.
The fix and the thing that makes it harder than it sounds:
Installing a GPU driver while Basic Display Adapter is active requires knowing which GPU you have, since Device Manager won’t tell you clearly. Two methods:
Press Windows + R → type dxdiag → Enter → wait for the DirectX Diagnostic Tool to finish loading → go to the Display tab. The Name field shows your actual GPU model even when the driver isn’t functioning. Note it exactly.
Alternatively: Settings → System → About → scroll to Device specifications → check if the processor entry gives you a clue about integrated graphics generation (Intel Core Ultra 7 means Intel Arc integrated; AMD Ryzen 7 8000 series means AMD Radeon 780M integrated). For discrete GPUs: look physically at the card if accessible, or check your purchase records.
With the GPU model identified, go to:
Download, install, restart. Display Settings will show full resolution options immediately after a successful driver install and restart.
If Basic Display Adapter returns after a restart: Windows Update is reinstalling it over your correct driver, or the driver installation failed silently. Disconnect from the internet before the next install attempt, and use DDU in Safe Mode (as covered in the display driver reinstallation guide) to clear all driver residue before installing fresh.
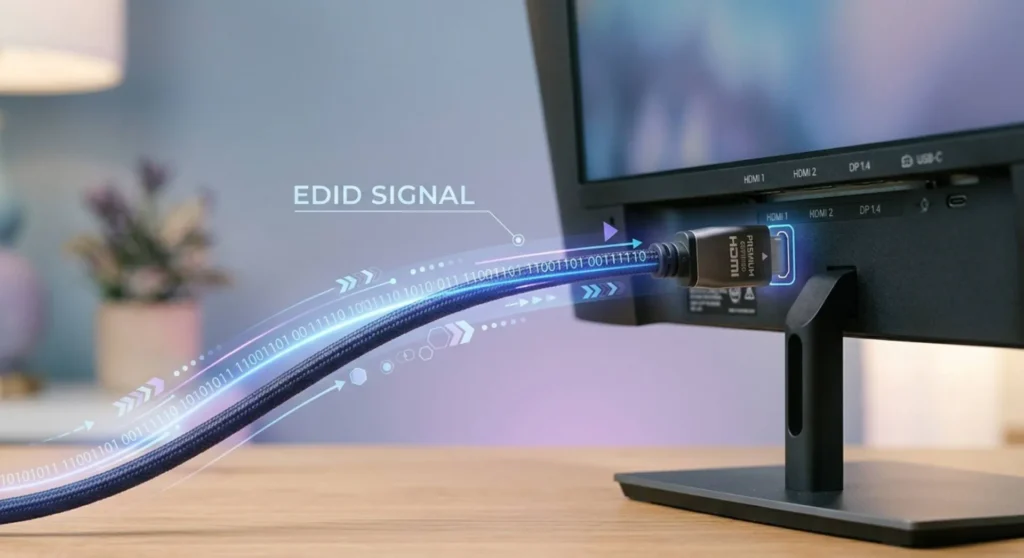
The resolution list is populated from EDID – Extended Display Identification Data, a 128 to 256 byte data structure stored in a small EEPROM chip inside every modern monitor. Every time Windows detects a display connection, the GPU reads this chip over the cable and parses the supported resolution and timing table from it. What Windows offers you in the dropdown is exactly what that EDID table says the monitor can do.
When the EDID data is missing, incomplete, or corrupted in transit, Windows offers only safe-mode resolutions. The driver is working correctly. The monitor is working correctly. The communication channel between them, the cable isn’t carrying the EDID signal reliably alongside the display signal.
How to verify EDID is the problem:
Open Device Manager → expand Monitors. If your monitor appears as “Generic Non-PnP Monitor” rather than its model name, EDID isn’t being read. The GPU recognized a display connection but received no identifying information from it.
Step 1 – Replace the cable before anything else.
HDMI and DisplayPort cables carry EDID on a dedicated pair of signal lines separate from the main display data lanes. A cable that carries enough signal for a visible image can simultaneously fail to carry EDID if those dedicated lines are damaged. This is more common than it sounds particularly with generic, unbranded cables and with cables that have been bent sharply near the connectors.
Replace with a labeled, certified cable. After replacement, restart completely. Windows rereads EDID on every fresh boot, and if the cable was the issue, your monitor will appear by name in Device Manager and the full resolution list will appear in Display Settings.
Step 2 – Force a manual EDID reread if the cable swap didn’t fully resolve it:
Device Manager → expand Monitors → right-click your monitor entry → Uninstall device → confirm. Then: Action → Scan for hardware changes. Windows reinstalls the monitor driver and executes a fresh EDID read cycle. Check Display Settings immediately after.
Step 3 – Install the monitor’s INF driver file if available:
Many monitor manufacturers, Dell, LG, ASUS, BenQ, ViewSonic publish an INF driver package on their support pages that registers the monitor’s full capability profile with Windows more explicitly than EDID alone. This is particularly important for ultrawide monitors, high-refresh gaming panels, and professional displays with unusual resolution combinations.
Download from your monitor manufacturer’s support page. Install through Device Manager → Monitors → right-click → Update driver → Browse my computer → navigate to the downloaded INF file.
Step 4 – Manually declare the resolution using CRU:
Custom Resolution Utility (CRU), from monitortests.com, allows you to write resolution entries directly into the Windows display capability table, bypassing EDID entirely and declaring your target resolution to the driver from the Windows side rather than the monitor side.
If selecting the manually added resolution produces a black screen: Do not panic. Windows waits 15 seconds for confirmation before reverting. If the screen has been black for less than 15 seconds and wait. The revert will happen automatically. If it doesn’t revert: press Enter (which confirms the change, you may be on a resolution the monitor is accepting but not displaying correctly) then immediately press Windows + Ctrl + Shift + B (which resets the display driver and usually restores the image). Then return to CRU and either remove the entry or adjust the timing parameters.
This is the most technically layered situation and the one where most self-directed troubleshooting fails. The dropdown is present, correctly rendered, clearly visible and completely, permanently unclickable. Not slow. Not intermittent. Just locked.
The lock is real. It was placed there by an instruction. Finding and removing the instruction is the only path forward.
First – identify whether this is a policy lock or a session lock.
A policy lock persists across restarts, across user account changes, across driver reinstalls. It exists at the system or user configuration level. If the dropdown was locked yesterday and is still locked after a restart and a GPU driver reinstall, it’s a policy lock.
A session lock exists only during a specific type of computing session. If you are currently connected to this machine via Remote Desktop, or if you are running Windows inside a virtual machine, the resolution control is locked by the session protocol and it will unlock the moment you exit that session. Resolution control in RDP and VM environments belongs to the connection or hypervisor layer, not to the guest OS.
If this is an RDP or VM session:
For Remote Desktop: disconnect your current session. On the client machine initiating the connection, not on the remote machine, open Remote Desktop Connection → Show Options → Display tab → set the display configuration to your desired resolution before connecting. Reconnect. The guest session inherits that resolution.
For VMware: install VMware Tools on the guest. For VirtualBox: install VirtualBox Guest Additions. For Hyper-V: enable Enhanced Session Mode (Hyper-V Manager → Host → Hyper-V Settings → Enhanced Session Mode Policy → Allow). These install virtual display adapter drivers that expose resolution controls in the guest OS.
If this is a policy lock – accessing and removing it:
The policy can exist in two forms: Local Group Policy (written to the local machine’s policy store) or registry-level policy entries (written directly to the registry, which is how MDM and domain policies are applied and persist even on machines without Group Policy Editor).
Local Group Policy Editor:
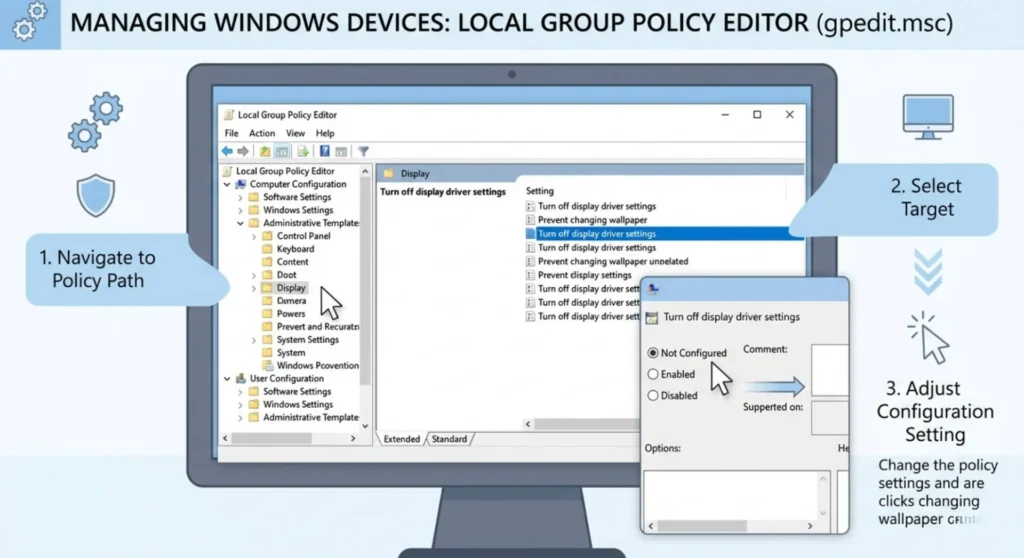
Press Windows + R → gpedit.msc → Enter.
Check both of these paths:
User Configuration → Administrative Templates → Control Panel → Display
Computer Configuration → Administrative Templates → System → Display
In both locations, look for any policy with a status of Enabled. Policies that affect resolution include Prohibit changing display settings, Hide Settings tab, Set a specific resolution, and Prevent changes to display settings. Set each Enabled policy to Not Configured. Close the editor. Open Display Settings, the dropdown should now be interactive.
Registry-level policy entries (required on Windows Home, and for MDM-applied policies):
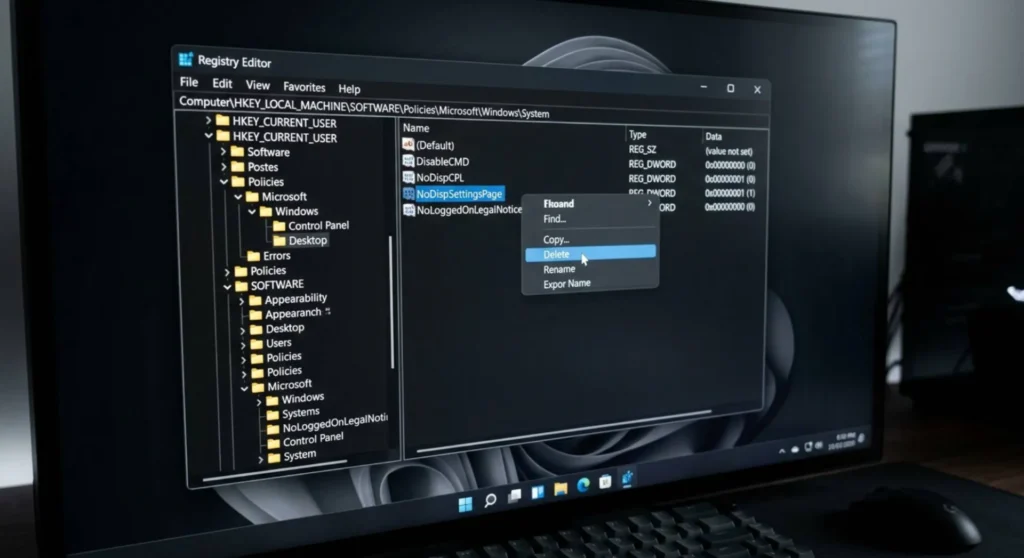
Press Windows + R → regedit → Enter.
Navigate to each of these paths and examine the values present:
HKEY_CURRENT_USER\Software\Policies\Microsoft\Windows\Control Panel\Desktop
HKEY_LOCAL_MACHINE\SOFTWARE\Policies\Microsoft\Windows\Display
HKEY_LOCAL_MACHINE\SOFTWARE\Microsoft\Windows\CurrentVersion\Policies\System
In these locations, look for DWORD values with names including NoDispCPL, NoDispSettingsPage, NoDispBackgroundPage, NoDispScrSavPage, or any key name containing “Disp” or “Resolution” with a value of 1. Right-click each → Delete, or double-click and change the value to 0.
After making registry changes, close Registry Editor and restart. Policy registry entries are read at session initialization, changes don’t take effect until the next login or restart.
If the policy returns after a restart:
The policy is being reapplied by an active source, a domain controller, an MDM enrollment, or a scheduled task. Check Task Scheduler (search the Start menu → Task Scheduler Library) for any tasks that reference display configuration, resolution, or policy update utilities. A task running at login or on a timer can reapply the restriction after you’ve cleared it. Disable or delete that task to make the removal permanent.
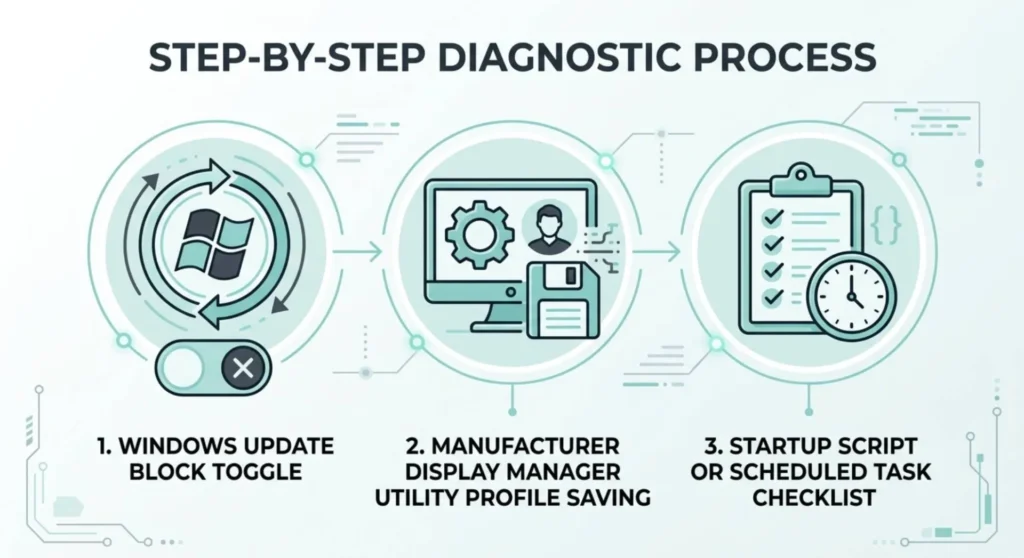
This situation is structurally different from the others, the setting isn’t locked against change, it’s locked against persistence. You can set your desired resolution. You can confirm it looks correct. You restart, and it’s gone.
Three mechanisms produce this pattern, and they require different responses.
Windows Update driver reinstallation — a Windows Feature Update or optional driver update can replace your GPU driver silently during the update process, and the newly installed driver may default to a different resolution than what you had set. The resolution change survives until the new driver initializes on next boot and applies its own defaults. Solution: download and install the correct GPU driver manually after the update, set your resolution, and then prevent Windows Update from reinstalling a different driver version:
Press Windows + R → gpedit.msc → Computer Configuration → Administrative Templates → Windows Components → Windows Update → Manage updates offered from Windows Update → enable “Do not include drivers with Windows Updates”.
On Windows Home (no Group Policy Editor): open Registry Editor → navigate to HKEY_LOCAL_MACHINE\SOFTWARE\Policies\Microsoft\Windows\WindowsUpdate → create a DWORD value named ExcludeWUDriversInQualityUpdate → set it to 1. This prevents Windows Update from touching your display driver regardless of Windows edition.
Manufacturer display configuration utility — HP Command Center, Dell Display Manager, Lenovo Display Manager, and ASUS DisplayWidget can each store and restore a display configuration profile on boot or resume. If one of these is storing a profile that includes a different resolution than what you’re setting manually, it overwrites your change at every startup. Open the relevant utility, find its display profile settings, update the stored profile to include your desired resolution, and save. The utility will then restore your preference rather than override it.
A startup script or scheduled task — less common on home systems, standard in enterprise environments. A script running at login can execute DisplaySwitch.exe, MultiMonitorTool, or a custom display.cfg command that sets a specific resolution as part of an enterprise desktop baseline. Check Task Scheduler as described in the previous section. If you find a task calling a display configuration command, either modify the command to your desired resolution or disable the task if it serves no other purpose.
Q: Resolution is grayed out on my secondary monitor but not my primary. How are they independent?
Each display connection maintains its own EDID relationship, its own driver configuration, and can be targeted by policies independently. The most likely cause of asymmetric behavior: the affected monitor connects through a different port type, HDMI instead of DisplayPort, or a USB-C adapter rather than a direct GPU output and the EDID signal isn’t traveling reliably on that specific cable. Check Device Manager under Monitors and confirm whether the secondary display shows by model name or as “Generic Non-PnP Monitor.” If it’s generic, the EDID section above applies specifically to that display’s cable and connection path.
Q: I cleared the Group Policy settings but the dropdown is still gray. What else could be holding it locked?
Group Policy Editor shows only locally stored policies. If your machine was previously domain-joined or MDM-enrolled, policy entries may still exist in the registry even after the Group Policy Editor shows everything as Not Configured. Work through the registry paths listed in the policy section above, specifically HKCU\Software\Policies and HKLM\SOFTWARE\Policies and remove any display-related DWORD entries with a value of 1. Registry-level policy residue from former domain enrollment is one of the most commonly missed sources of persistent display locks.
Q: After I install the GPU driver correctly, the resolution list appears, but not my monitor’s native resolution specifically. The driver installed successfully. What’s missing?
Your monitor’s EDID isn’t fully declaring its native resolution to the driver. This happens on some ultrawide, high-refresh, and professional panels whose EDID tables list a subset of supported modes rather than the complete specification. Use CRU (as described in the EDID section) to manually add your native resolution. Alternatively, install the monitor’s INF driver from the manufacturer’s support page, these packages include a more complete capability declaration than EDID provides.
Q: Everything looks correct in Device Manager and Group Policy, but the dropdown is still locked. I’m running Windows 11 Home. Is there a Home-specific cause?
Windows 11 Home doesn’t expose Group Policy Editor, which means policy entries applied by previous MDM enrollment, a PC reset that didn’t fully remove domain configuration, or software that wrote policy registry keys remain in place silently. Run a registry check through the paths listed above. HKCU\Software\Policies\Microsoft\Windows\Control Panel\Desktop and HKLM\SOFTWARE\Policies\Microsoft\Windows\Display and delete any DWORD values containing “NoDisp” or resolution-related names. This is the Home-edition equivalent of clearing Group Policy, and it’s required whenever the GPE path isn’t available.

Derek V. Mackown is a veteran IT Technician and Display Hardware Specialist with over a decade of hands-on experience troubleshooting complex software-hardware interface glitches. He specializes in Windows OS display architecture, driver calibration, and panel diagnostics. Driven by a passion for pixel-perfect performance, he writes highly analytical, step-by-step guides to help everyday users achieve absolute display clarity at AurumScreen.com.